Thursday, July 27, 2017

Experimenting with Marabu Paints

I love experimenting with new products. 

Recently Elena, my studio buddy, and I spent an afternoon playing with Marabu Porcelain and Glass Paints™ and resin. 

Our mission was to determine if these paints would work with resin using a similar process that I use when working with alcohol inks and resin, and to determine if these paints would work with the fluid or accidental painting process.

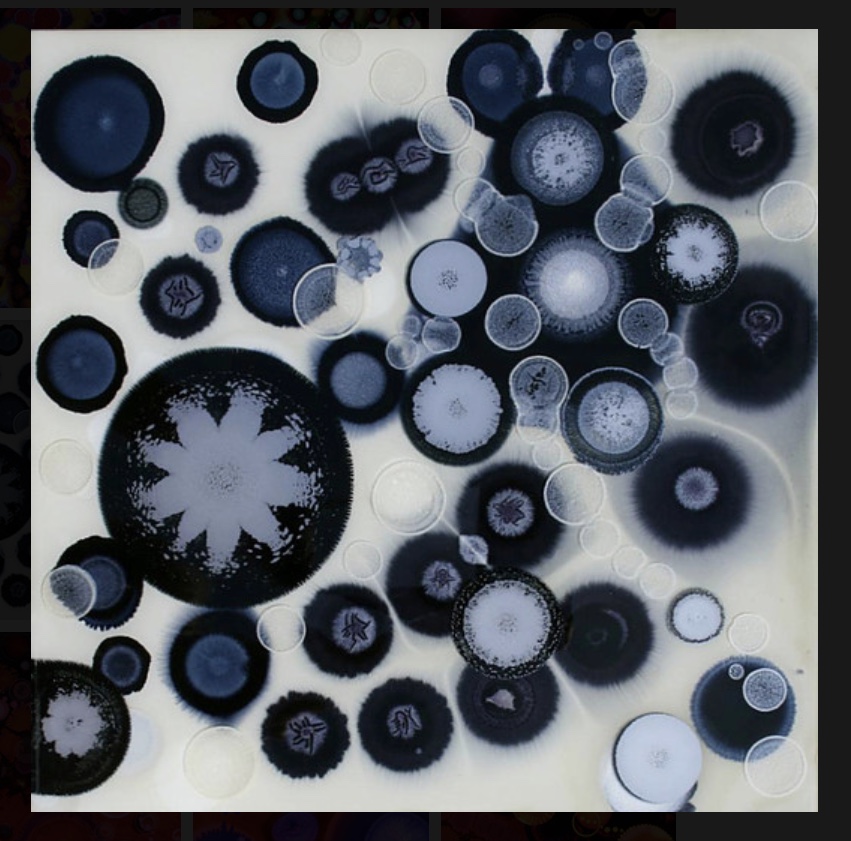
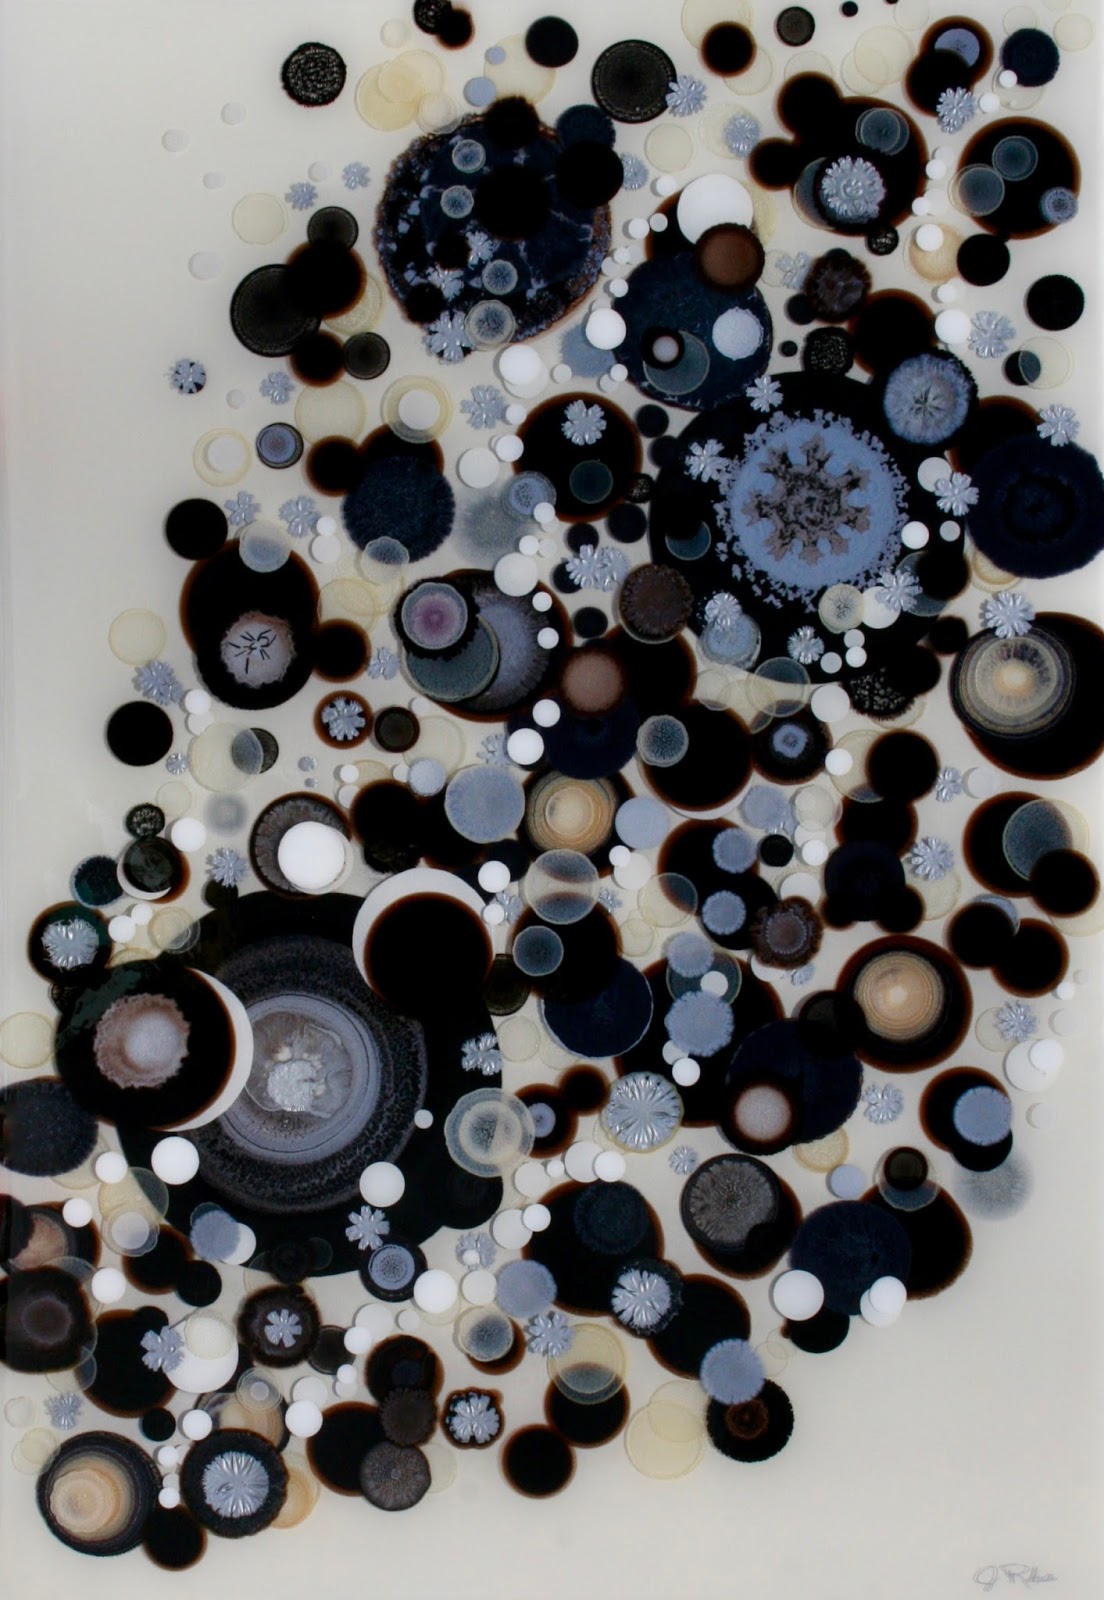
With EnviroTex Lite and EX-74, we got some interesting patterns. Here are two photos of some samples. The resins were freshly poured and the paints dropped in within 15 minutes.   A few that had two colors were manipulated with a needle tool by drawing lines across the center sections. If waiting too long, the effect was not as pronounced. If dropped too soon, the paints dispersed more as in the bottom three images. The samples are on 2" square Ampersand Stampbord™ or Claybord.™


If you know my work, you know that I love trying to get interesting patterns using the chemical and physical properties of the inks and paints that I use. Although these patterns are very different (more pointy lines and not so many circles) than my regular patterns, I can see there are possibilities in jewelry and other small works.  I doubt if I will be able to get large design elements since they dry fast when dropped into resin and that does not allow them to spread far.

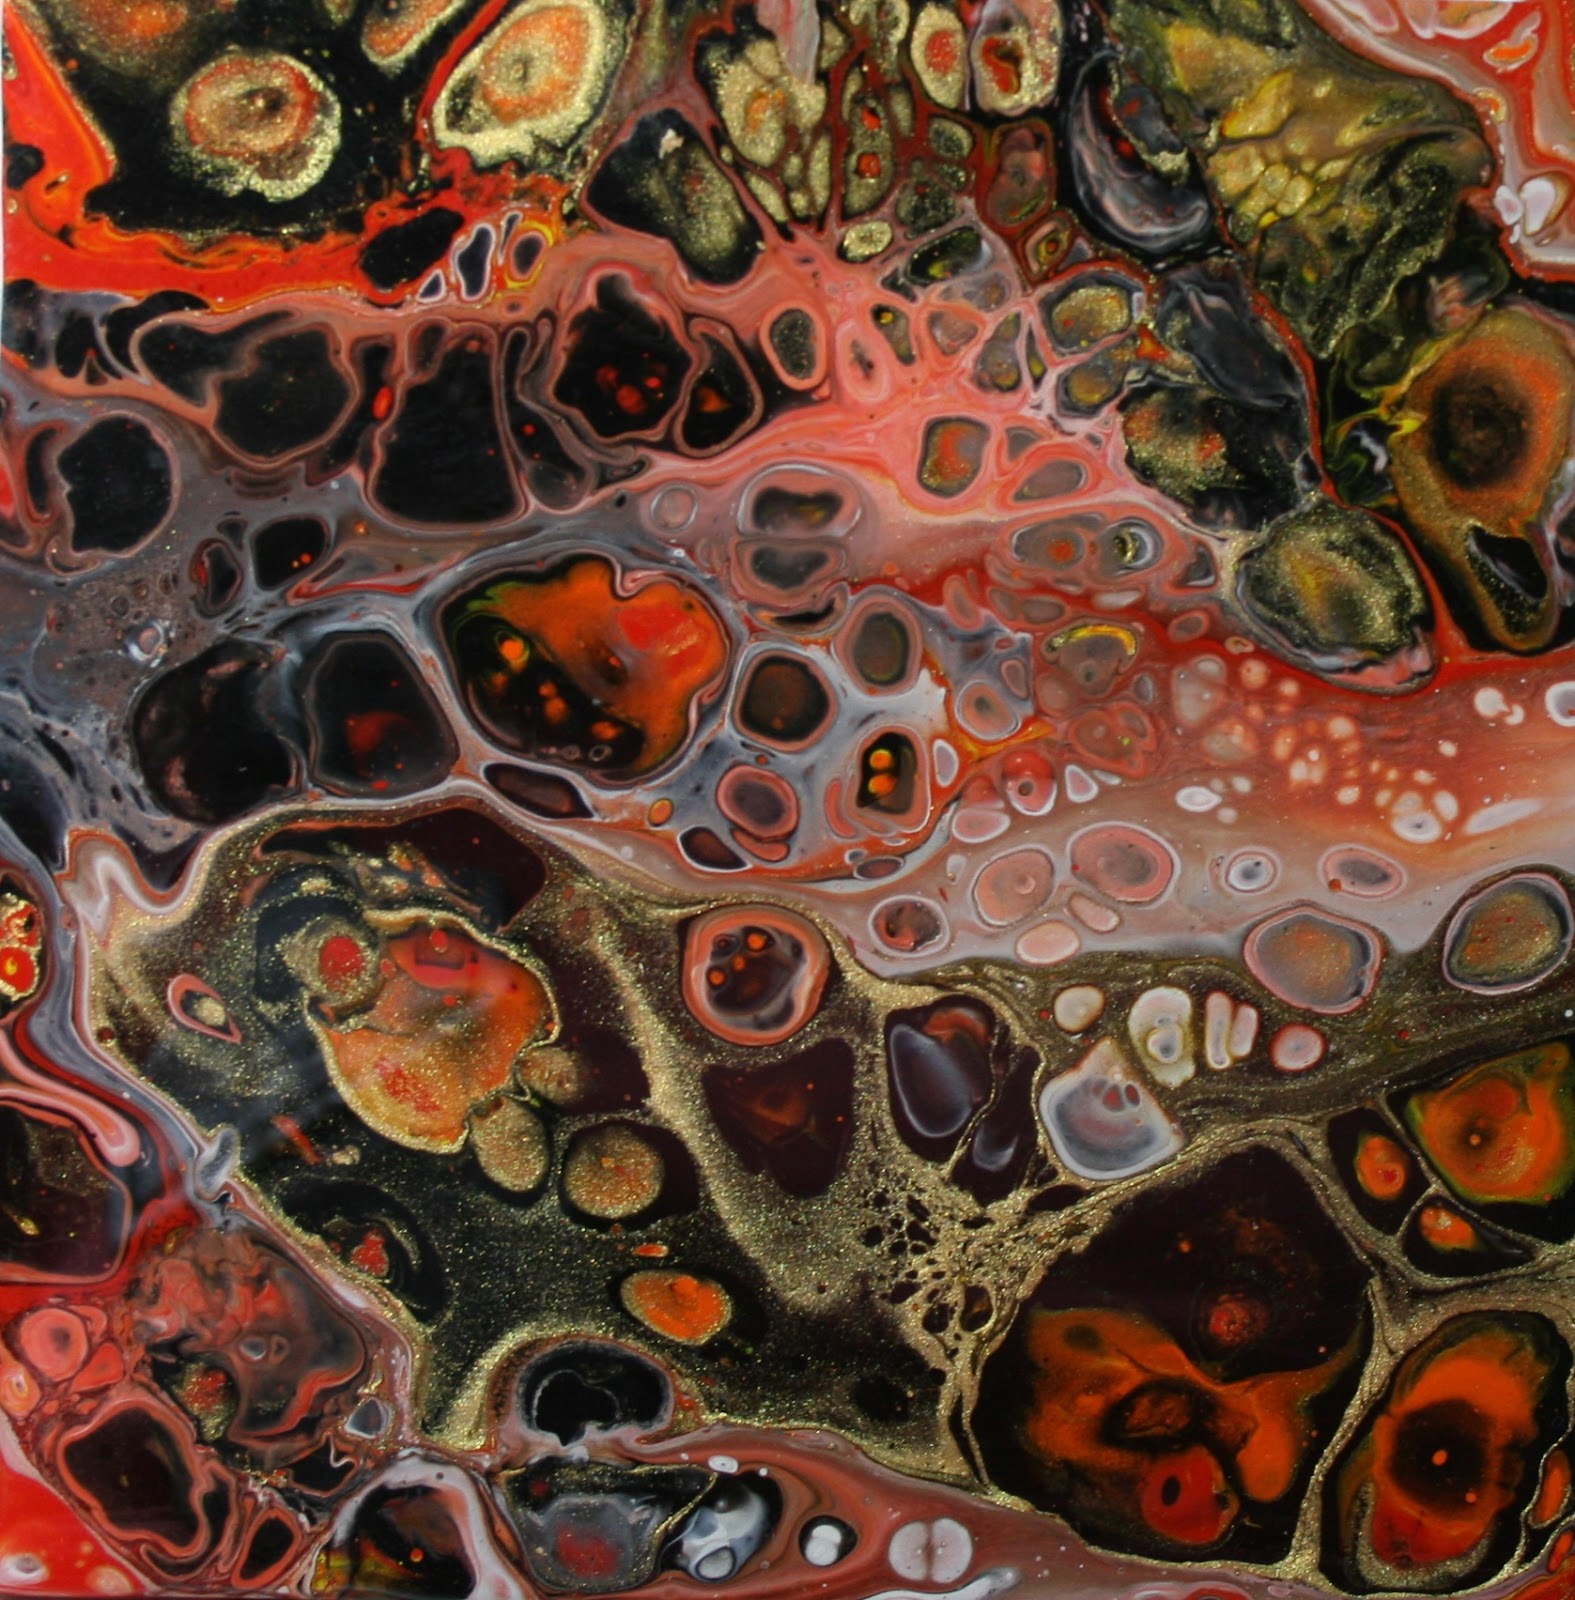
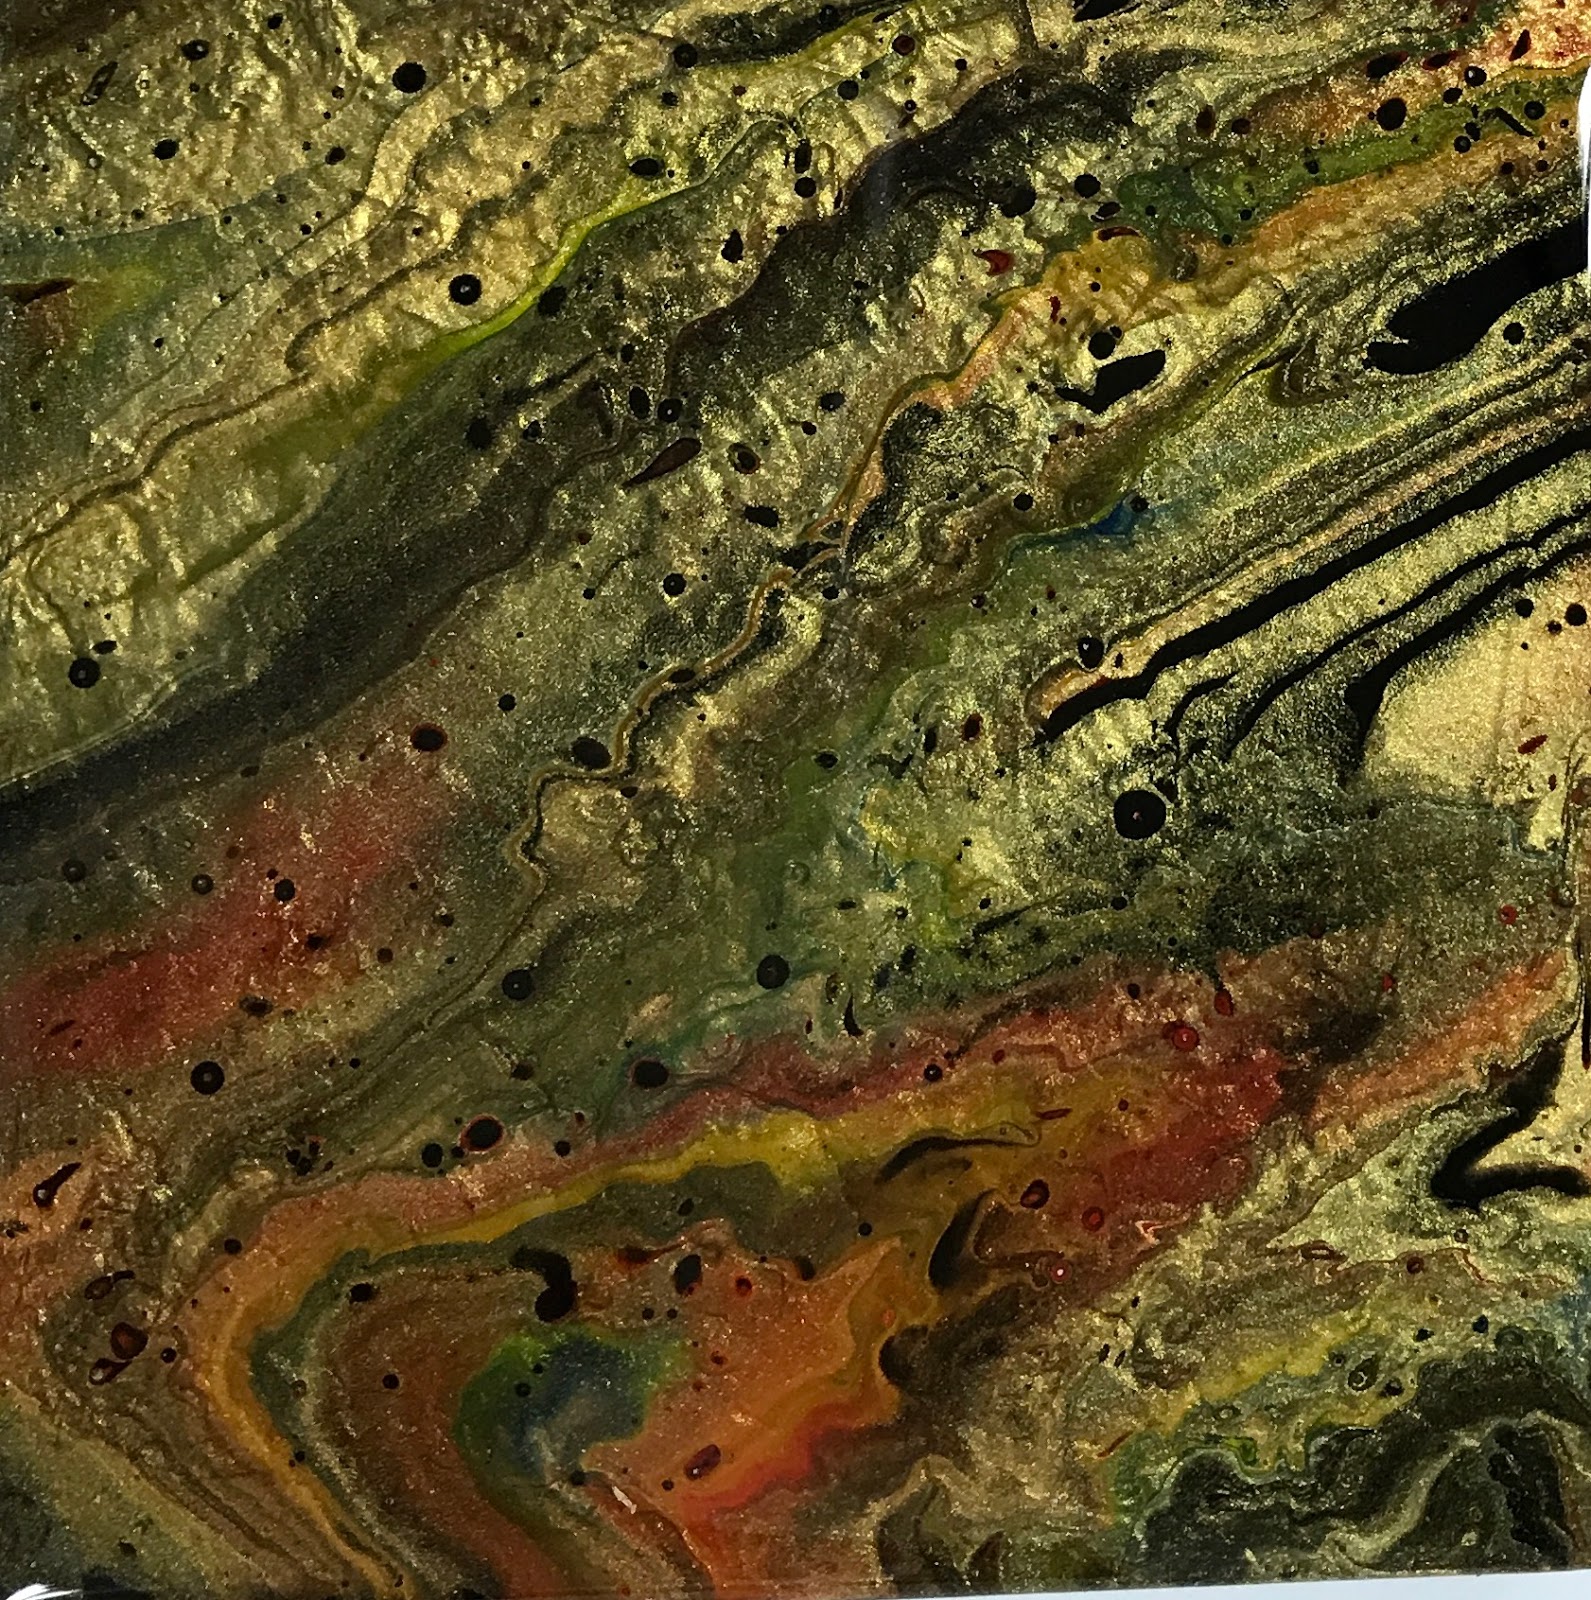
We also used the Marabu Porcelain and Glass paints for pouring as fluid painters do.  The paints mixed more than most acrylics that we have used resulting in a more muted palette, but we still got some designs that were suitable for coasters. Note:  Photos were taken under a bright light so the colors would show well in a photo.  They are a little more muted in natural light, but I don't know how to do that with photo editing.


I had a play day and demo day for the Carolina Mixed Media Art Guild members this past week-end in my studio.  We had a blast pouring acrylic paints.  With fluid or accidental painting, there is often a lot of waste left from a pour. I captured some from one painting and used the acrylic skins to make a few coasters that are shown in the first photo below.  No waste in my studio! All of these are on Ampersand Claybord™.  I wish I had photos to share with you of all the member's work, but I am the worst at taking photos when friends are in my studio!


And finally, we made a lot of small magnets demo left-overs from the pours.  Some of these were made by turning the tile upside down onto dripped paint.  Fun to see what can be obtained with drips of paint!


Hope you enjoy!


Monday, June 19, 2017

Ink Paintings and Accidental Painting

This is a link to my most recent newsletter.  If you would like to receive it in your inbox, you can subscribe at the bottom of the newsletter.

I am still working on commissions. This is my latest one for a client in Anchorage, AK.  I had been working with black, silver, white and grays for over three months.  I had a request to add red to the color palette and paint one similar to The Mystery of Locus.   


48'x36"x2.25"
Alcohol and acrylic inks, resin
Ampersand Cradled Claybord™


The Mystery of Locus
40"x30"x2.25"


Here are some close-up photos of some of the elements in the above paintings.


Stay tuned for photos of the largest ink and resin painting that I have painted.  

The newsletter link above has more info about my process.  Read it for details if interested in process.  

Thank you for your support!


Sunday, February 12, 2017

The Challenge of Art Commissions

My fifth newsletter is online here.  Please subscribe on the bottom of the page if you would like to receive it in your email.


Over a year ago, I was asked if I would paint two larger paintings similar to one that I had previously painted with similar colors and design.  At first I declined. 

I was not sure I could reproduce the elements in the painting.  My painting process is more 'whatever happens, happens,' and I must work with whatever that is at any given time.  I loved the go with the flow process, and did not want my creativity stifled. It seemed that most people wanted specific sizes and colors for an area in their home or business so at the end of 2015, I vowed to not turn down a commission. I would at least try. 

With the first commission, I realized I had been missing an important part of being an artist.  It pushed me to try to create a painting with a similar aesthetic as another I had already painted. The only thing I really needed was a photo of one I had previously painted to get something similar.

So last year was filled mainly with commissioned work.  

This is the  painting titled Hidden Messages that I was to use for reference.


The two commissions below were painted for the MGM Hotel in Cotai, China.  These will be framed.


 Lucky Whispers I


Lucky Whispers II

Paintings are on Ampersand Claybord™ with an ArtResin™ finish.

Resin Studio Demo

My third newsletter is online here.  If you would like to receive it in your inbox each month, please subscribe at the bottom of it.

This past month has been busier than usual, but not busy as in hurry, hurry, hurry---just more commitments.  I am as always trying to stay focused on the task at hand while still taking a little time to dream, wander, and take it easy when possible.

I gave a demo last Sunday afternoon for some of our Carolina Mixed Media Art Guild members and a couple of our Sanford Brush and Palette Club members on how to use a two part resin and a few other short demos on using Jacquard silk fabric dyes and salts to create backgrounds.  A few participants painted with alcohol inks and applied resin to their paintings.

I used ArtResin for the demo. With about twelve people in my studio sampling resin, I wanted to be sure the odor was not overwhelming to those who are sensitive to resin. I heard no complaint about the odor of this resin unlike other resins I have used.  ArtResin is a superb resin in many ways.  If you wish to know more about it in comparison to others, you can read about it here.  

Each person applied resin on at least two paintings.  I had planned to take photos of participants and their art, but forgot.  These were some of the ones that were left in my studio to cure.  (Permission was granted to post these images.)

Elena Gage brought several of her Pēbēo paintings to test the effect that resin had on them.  They had been painted over a week earlier. This is important if applying resin over Pēbēo.  These are some of her first paintings and they are wonderful, but even better in person!


These are a couple of photos of Cathy Hooper's alcohol ink paintings that she did at the studio and applied an ArtResin™ finish. These are on Ampersand Claybord™.


I enjoyed doing this demo so much that I have plans to do this type of activity once a month in my studio.  It will be a potluck demo--anything that I have a 'taste' for at the time and the supplies that I have on hand so participants can experiment using their own style and art.

If you are interested in attending, the demos will most likely be on a Sunday afternoon in my studio in Sanford.  Please email me and I will put you on a notification list. Demos will be limited to 15 participants.  There will be a jar for donations---no more than $5 per person. This money will be donated to the Sanford Brush & Palette or the Carolina Mixed Media Art Guild.  

Sorry, I cannot tell you what I will demo until I stumble across it! 


Thursday, January 5, 2017

Greetings for the New Year and a Giveaway


My second newsletter is online here.  If you would like to receive it in your inbox, please subscribe. 


Yellowstone Caldera 
#1700
12"x6"x2"
Pēbēo paints, Resin on Ampersand Claybord™

This year I am going to try something a little different.  I create many samples in order to test different inks and paints.  I often turn these into coasters, magnets or pendants. 

I asked Facebook friends to title the above painting. Diane C. Keever suggested something Yellowstone____.  So I have titled it Yellowstone Caldera. I will be sending Diane a coaster that was made while testing the paints to make this painting. She will recognize the experiment in this painting. 

I am an abstract painter, but over the years I have found that people want a hint in the title of what I see in a painting, and I have come to the conclusion that a title is very important even for abstract paintings---and maybe even more so!  Usually, I like a title that still leaves it up to the viewer's interpretation. Some paintings title themselves just like I often think some paintings paint themselves.  

Watch for the next painting that I paint to see if I ask for a title.  I will keep all the suggestions that I received from this Facebook post and if I should use one of those in the future, a coaster will be coming to the person who titled it.

The remainder of this post is for the artist or crafter who works with resin.

I work a lot on Ampersand Claybord.  I do my tests on the 1/8" flats of Claybord.  It takes some skill to apply resin to small flat pieces and to avoid runoff of the resin.  It is much easier for me to apply resin on a painting that is 36"x36"x2" than it is to apply resin to six 4'x4"x1/8" flat pieces.  

Due to the porosity of the Claybord, the first layer of resin usually does not have a runoff problem.  But additional layers allow the resin to run more freely and over the sides and under the flat panel. Until recently, I was just always extremely careful trying to be sure as little resin as possible would run under the flat piece.  If it did, I would use a belt sander and sand all the resin off the bottom.  This is a lot of work!

In order to prevent the resin from running over the sides and ending up on the bottom, I sometimes use blue painter's tape and cover the entire bottom of a flat panel.  Sometimes if doing a large flat piece 8"x8" or 12"x12" for example, I cut a square of typing paper and only tape around the panel just up to the edge.  The paper for a 8"x8" piece may be 7"x7" and the tape covers the extra inch with just a little over the paper.  This can easily be removed once resin has cured and there will be no resin on the bottom of the panel. 

I ran out of blue tape and had to improvise.  I discovered that Reynold's Plastic Coated Freezer Paper ironed onto the back of the Claybord pieces would prevent resin from building up and having to be sanded off once cured.  It can be a little tricky to determine how much heat and for how long to iron, but with a few practice sessions, it is easy to get it just right.  After pouring the resin and it has cured, then pull the paper off to have a clean back surface.  Here are some photos.


Turn your flat panels upside down on your ironing board.  Cut a piece of freezer paper large enough to cover them while leaving space between them.


Do not use steam, but iron on high heat until paper is attached to the panel.


Allow to cool and then flip over and remove the paper.


Paper peeled right up almost completely clean on all except one of the coaster size panels.


This is one where some of the paper stuck.  It can be removed with water and a scrub pad.


Completed coasters! 

I still prefer blue painter's tape on the back, but using freezer paper is cheaper and if in a pinch, it can be a life saver!