My second newsletter is online here. If you would like to receive it in your inbox, please subscribe.

Yellowstone Caldera
#1700
12"x6"x2"
Pēbēo paints, Resin on Ampersand Claybord™
This year I am going to try something a little different. I create many samples in order to test different inks and paints. I often turn these into coasters, magnets or pendants.
I asked Facebook friends to title the above painting. Diane C. Keever suggested something Yellowstone____. So I have titled it Yellowstone Caldera. I will be sending Diane a coaster that was made while testing the paints to make this painting. She will recognize the experiment in this painting.
I am an abstract painter, but over the years I have found that people want a hint in the title of what I see in a painting, and I have come to the conclusion that a title is very important even for abstract paintings---and maybe even more so! Usually, I like a title that still leaves it up to the viewer's interpretation. Some paintings title themselves just like I often think some paintings paint themselves.
Watch for the next painting that I paint to see if I ask for a title. I will keep all the suggestions that I received from this Facebook post and if I should use one of those in the future, a coaster will be coming to the person who titled it.
The remainder of this post is for the artist or crafter who works with resin.
I work a lot on Ampersand Claybord. I do my tests on the 1/8" flats of Claybord. It takes some skill to apply resin to small flat pieces and to avoid runoff of the resin. It is much easier for me to apply resin on a painting that is 36"x36"x2" than it is to apply resin to six 4'x4"x1/8" flat pieces.
Due to the porosity of the Claybord, the first layer of resin usually does not have a runoff problem. But additional layers allow the resin to run more freely and over the sides and under the flat panel. Until recently, I was just always extremely careful trying to be sure as little resin as possible would run under the flat piece. If it did, I would use a belt sander and sand all the resin off the bottom. This is a lot of work!
In order to prevent the resin from running over the sides and ending up on the bottom, I sometimes use blue painter's tape and cover the entire bottom of a flat panel. Sometimes if doing a large flat piece 8"x8" or 12"x12" for example, I cut a square of typing paper and only tape around the panel just up to the edge. The paper for a 8"x8" piece may be 7"x7" and the tape covers the extra inch with just a little over the paper. This can easily be removed once resin has cured and there will be no resin on the bottom of the panel.
I ran out of blue tape and had to improvise. I discovered that Reynold's Plastic Coated Freezer Paper ironed onto the back of the Claybord pieces would prevent resin from building up and having to be sanded off once cured. It can be a little tricky to determine how much heat and for how long to iron, but with a few practice sessions, it is easy to get it just right. After pouring the resin and it has cured, then pull the paper off to have a clean back surface. Here are some photos.


Turn your flat panels upside down on your ironing board. Cut a piece of freezer paper large enough to cover them while leaving space between them.

Do not use steam, but iron on high heat until paper is attached to the panel.

Allow to cool and then flip over and remove the paper.
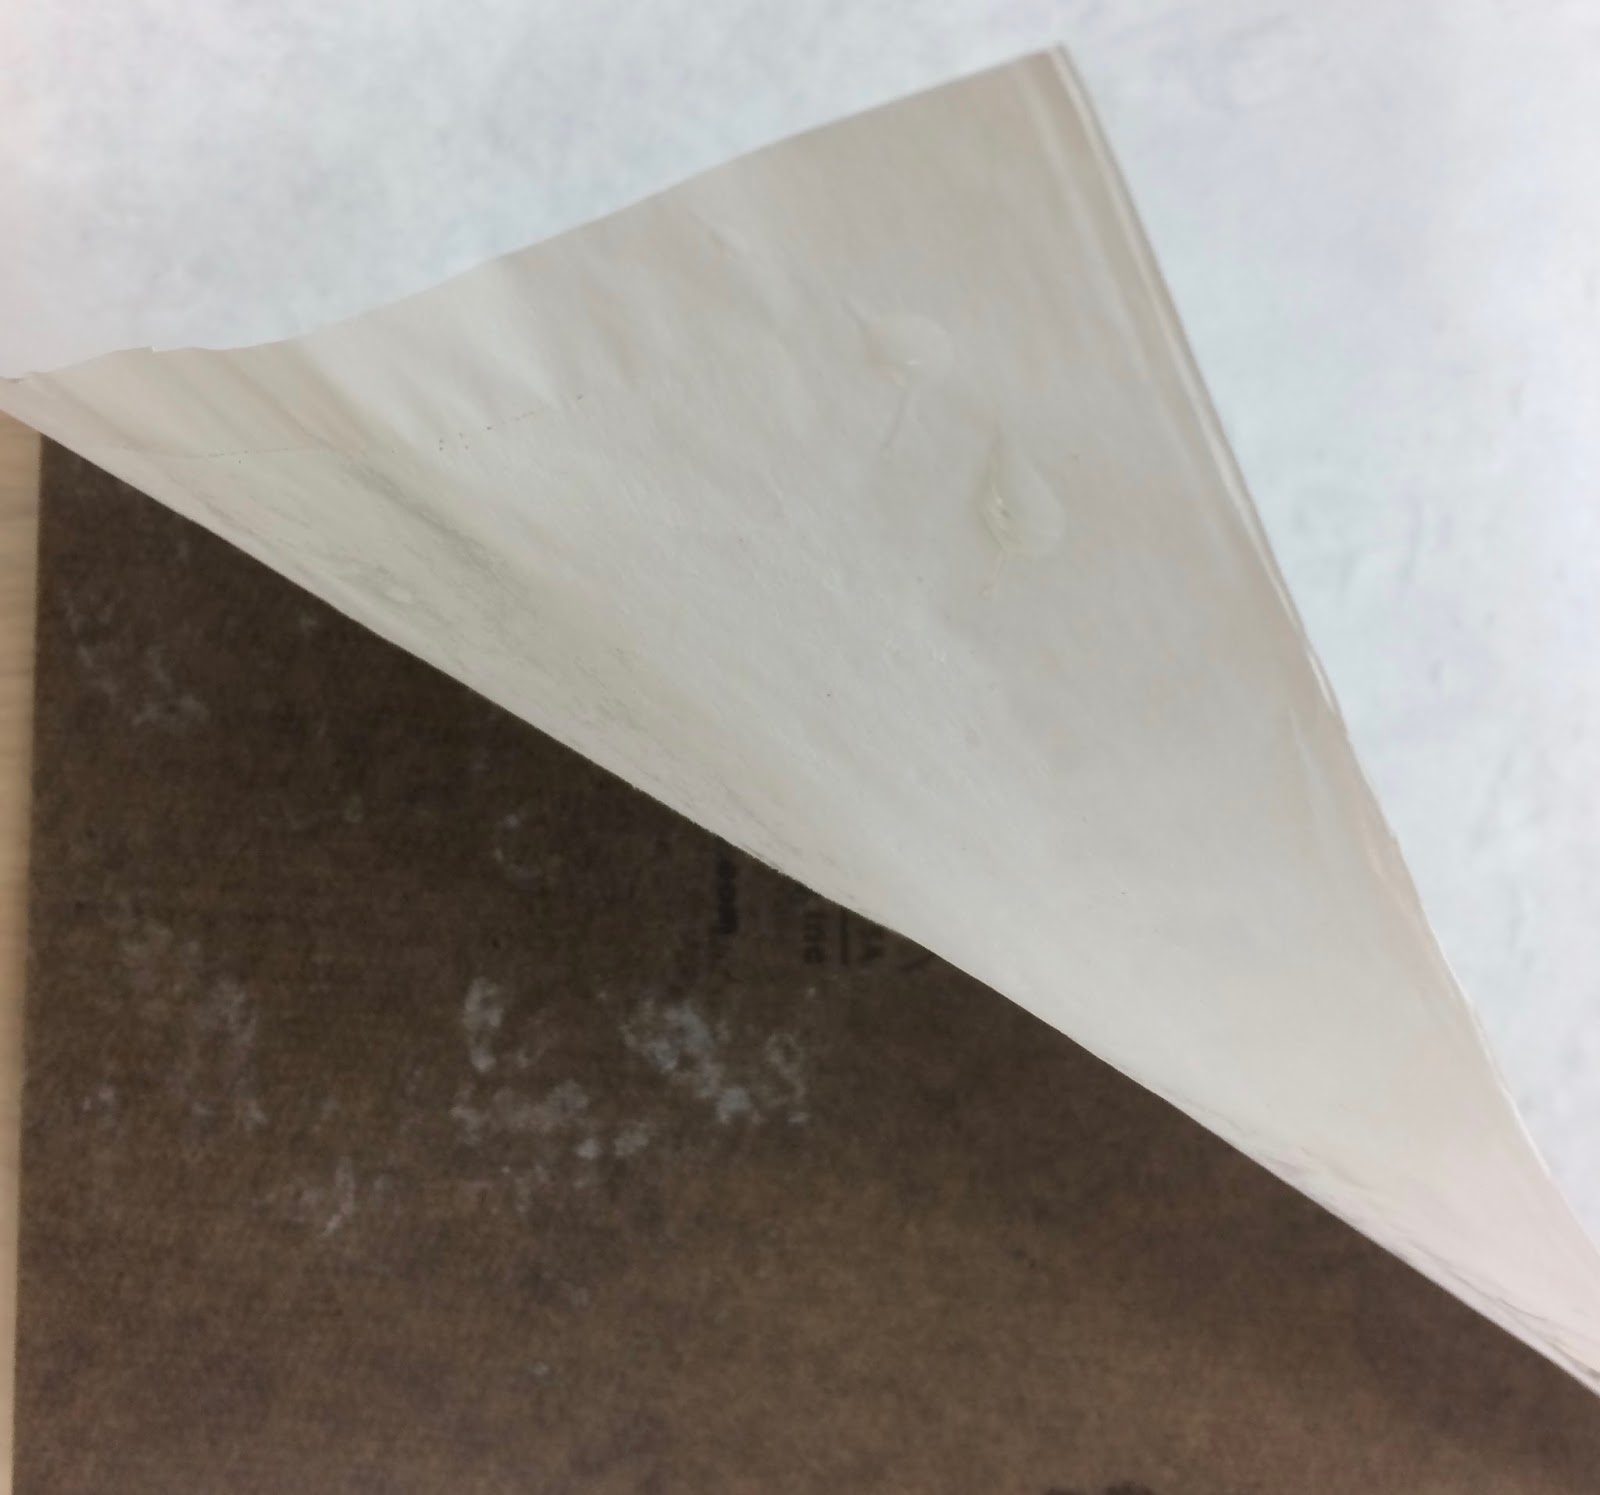
Paper peeled right up almost completely clean on all except one of the coaster size panels.

This is one where some of the paper stuck. It can be removed with water and a scrub pad.

Completed coasters!
I still prefer blue painter's tape on the back, but using freezer paper is cheaper and if in a pinch, it can be a life saver!