Showing posts with label Carolina Mixed Media Art Guild. Show all posts

Sunday, September 16, 2018

My Art Process and the Fluid Painting Process

I often receive a dozen emails in a day asking about my painting process and how I get some patterns that are not easily obtained with fluid, flow or accidental painting.

There has been a tsunami of acrylic pour paintings and fluid art painters in the past five years. Acrylic paint pouring was originally known as Accidental Art or unintentional art. There is a discussion on Quora on whether any art is intentional or can be accidental. This blog post is not really about that, but is focusing on the differences of my ink painting process and Accidental Art or acrylic fluid painting techniques. 

If you are not familiar with Accidental Art, you can get a good overview here. I must say that once most people try it, they are hooked on it!  This includes kids, people who have never painted, and people in their nineties.  I demo and teach acrylic pouring to mostly kids. Here is a photo of the kid's pours of the last demo that Elena and I did at the Chavis Community Center for the Carolina Mixed Media Art Guild.


For my process, my only pre-planning prior to painting is to have my studio clean, assemble my chosen colors, and choose my panel size. I use  Ampersand Claybord™ almost exclusively which requires no prep except for masking the sides of the cradle.

I am primarily working with the chemical and physical properties of the inks and paints to create the patterns.  The viscosity and chemical composition of the inks, the porosity of the substrate, the humidity, and the temperature in the studio affect the patterns.  I often say that how I hold my tongue in the process also affects the designs.

I rarely use a paintbrush, but instead drop, dribble, float, pour, splatter, or splash onto the substrate. However, this is not just throwing paint or ink here or there and hoping for a good composition. It is choosing the spot to drop the ink, choosing the ink that will be changed to a new color when the next ink is added, choosing the chemical compositions and the viscosities of the two inks to push the previous ink to obtain a particular pattern, and all at the same time paying close attention to how the first layer of paints or inks have begun to dry. Seconds will affect whether the intended results are achieved and which patterns are obtained. The inks must have some wetness or the second ink applied to the first drops will not allow the inks to spread to form patterns. During the process, I am continually analyzing how one area is changing and attempting to place the next inks where they do not interfere with the first inks.  This is the biggest challenge of the process. 

Some patterns are happy accidents, but I have been doing this so long that I know how many drops of one ink will force another type of ink to spread and the patterns I will get. I embrace the happy accidents and am quick to change where a painting was headed if necessary to get a good composition. Sometimes there is a point with a painting that I say to myself that this one is a lost cause.  However, one more layer and then it may very well be my favorite painting. So I don’t give up easily.

Most of my paintings feature circles. It is the creation of these circular patterns that is so intriguing to me. I occasionally paint with no circles, but my work is known for its circles, and the layering of circles upon circles. 

I usually work in color, size, or composition series.  I have several different styles—some with lines, some with up to ten layers of painting and resin that give the paintings a dimensional quality, and some with metallic or mirrored leafing. 

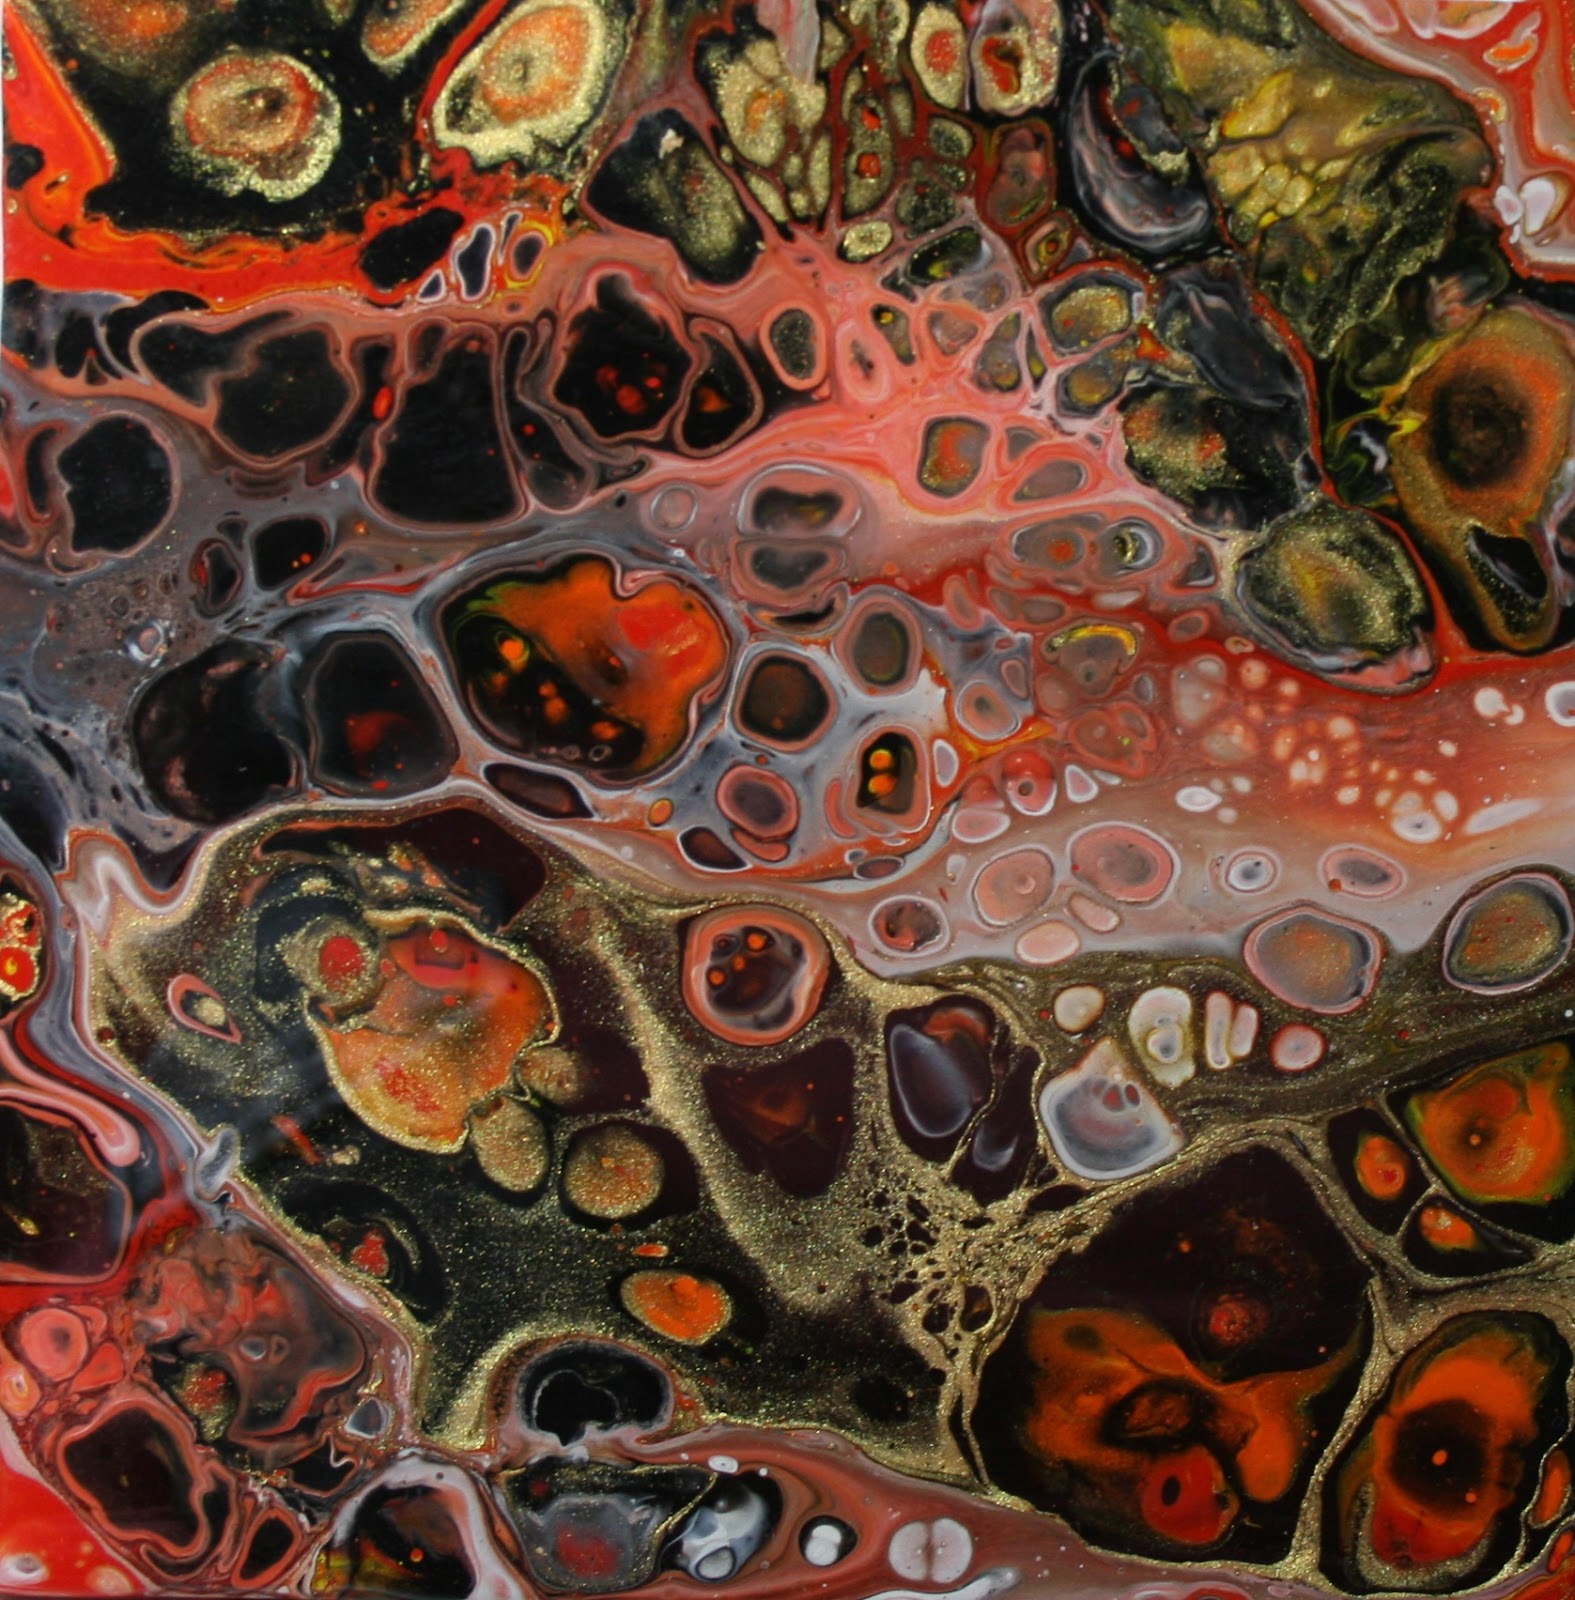
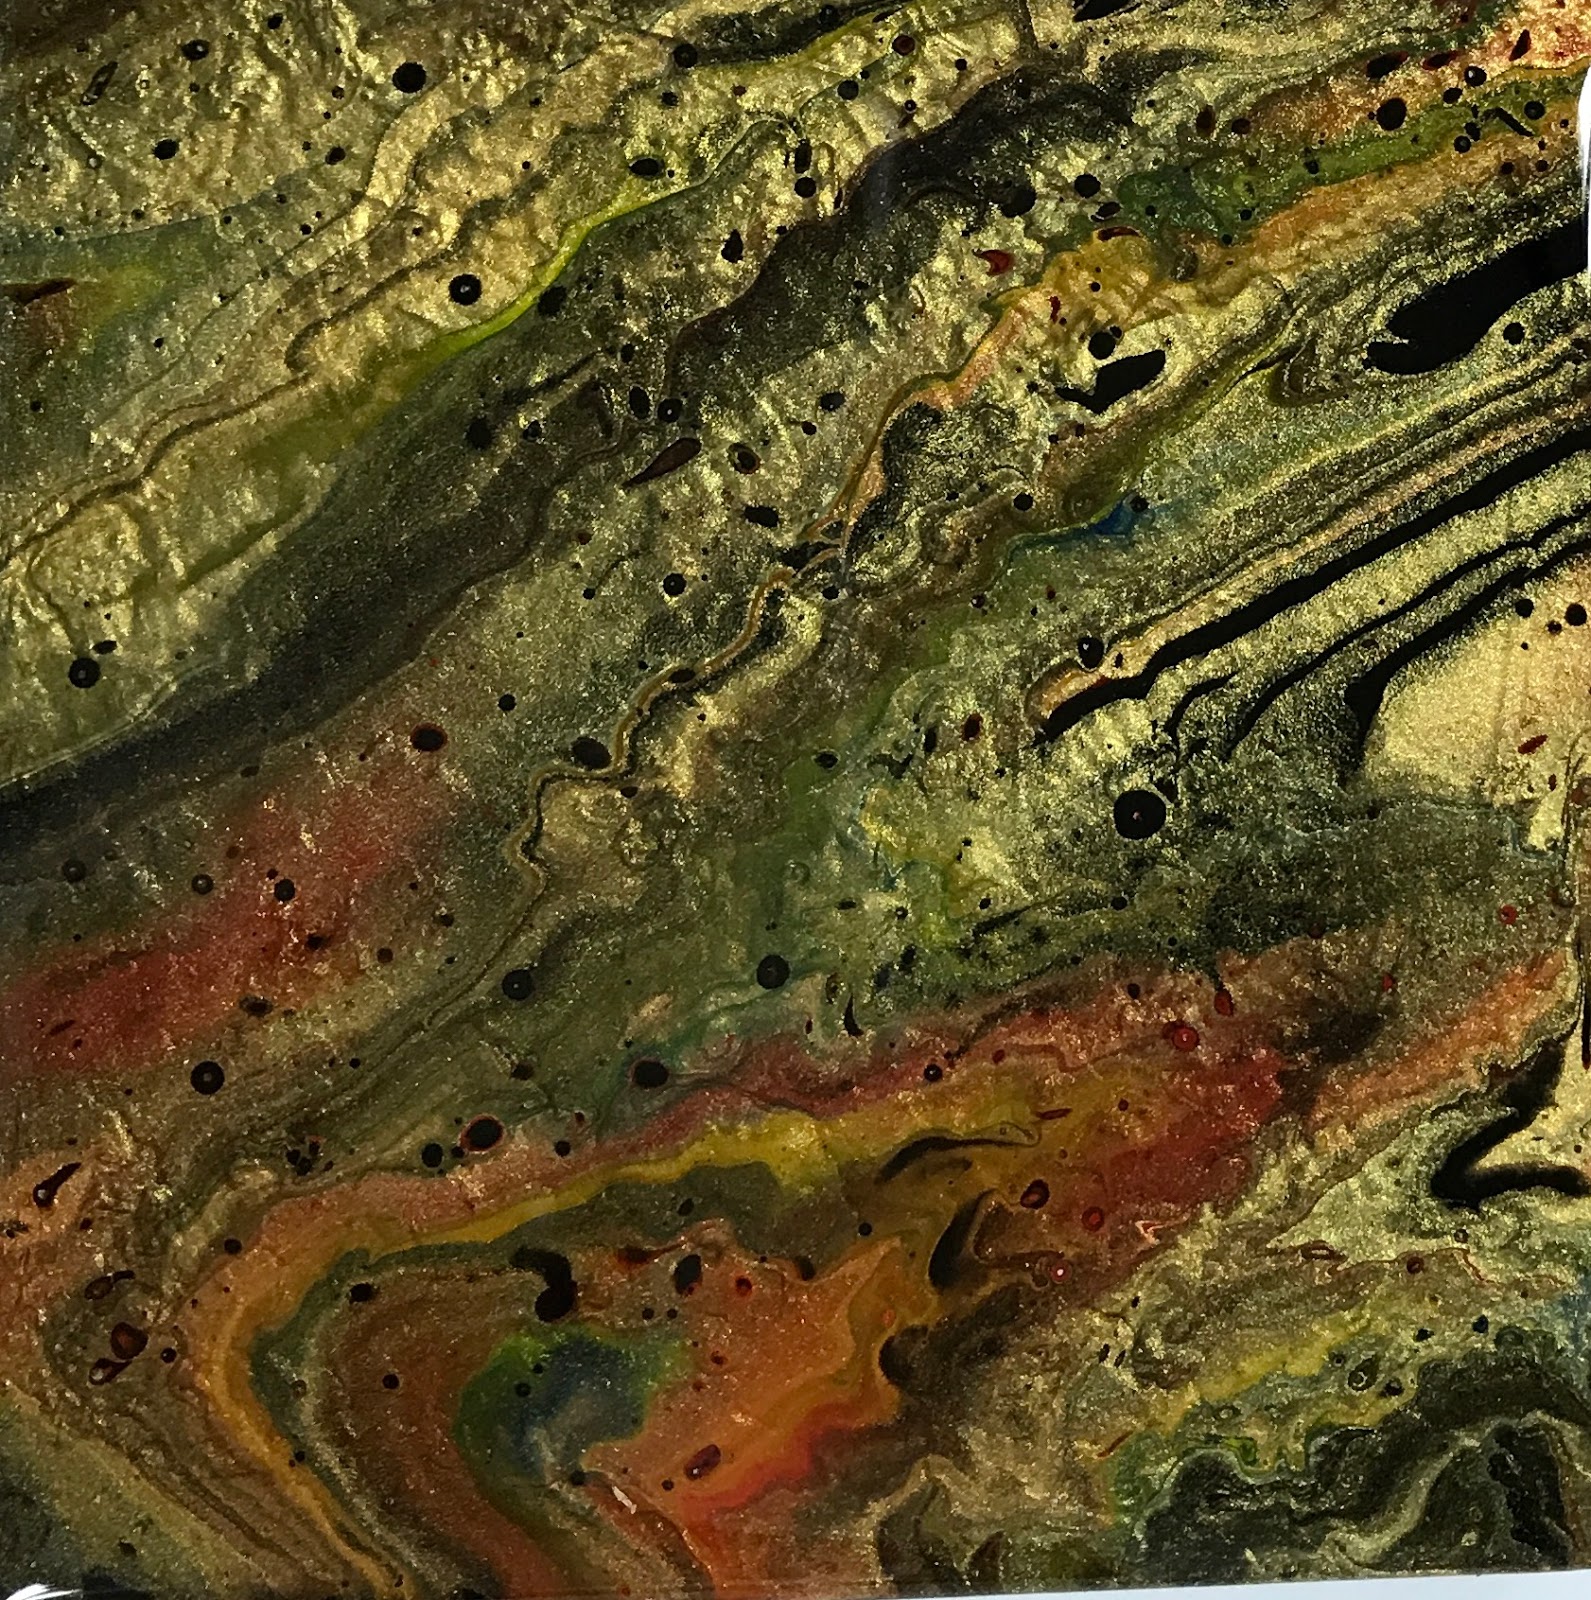
You can view samples of my ink paintings on my website. Here are a couple of paintings that show how one element or pattern is obtained by dropping one color into another color of ink. No tools are used except an eye dropper.  


Acrylic pouring has a few similarities to my work, but still it is as different as painting with watercolors compared to oils. The similarities are that fluid acrylic artists usually work without brushes, and most often they float and tip to spread the paint.  They most often use silicone (which I do not use in my ink paintings) that makes it easier to create the cell patterns that many desire. However, these are still uncontrollable to a great extent—esp. the size, shape, color, and where they manifest in the acrylic pours. My paintings on the other hand have each major element as an intention or a deliberate action, and I choose the colors and the location of the elements.

Here are a couple of acrylic pour paintings that I have done.  You can see the cells that formed just as the patterns formed in my ink paintings. I did nothing except mix the paints and layer in a cup and flip it onto a board. It is very easy to see the difference in the effects as most of the designs are not symmetrical and most of the cells are small.

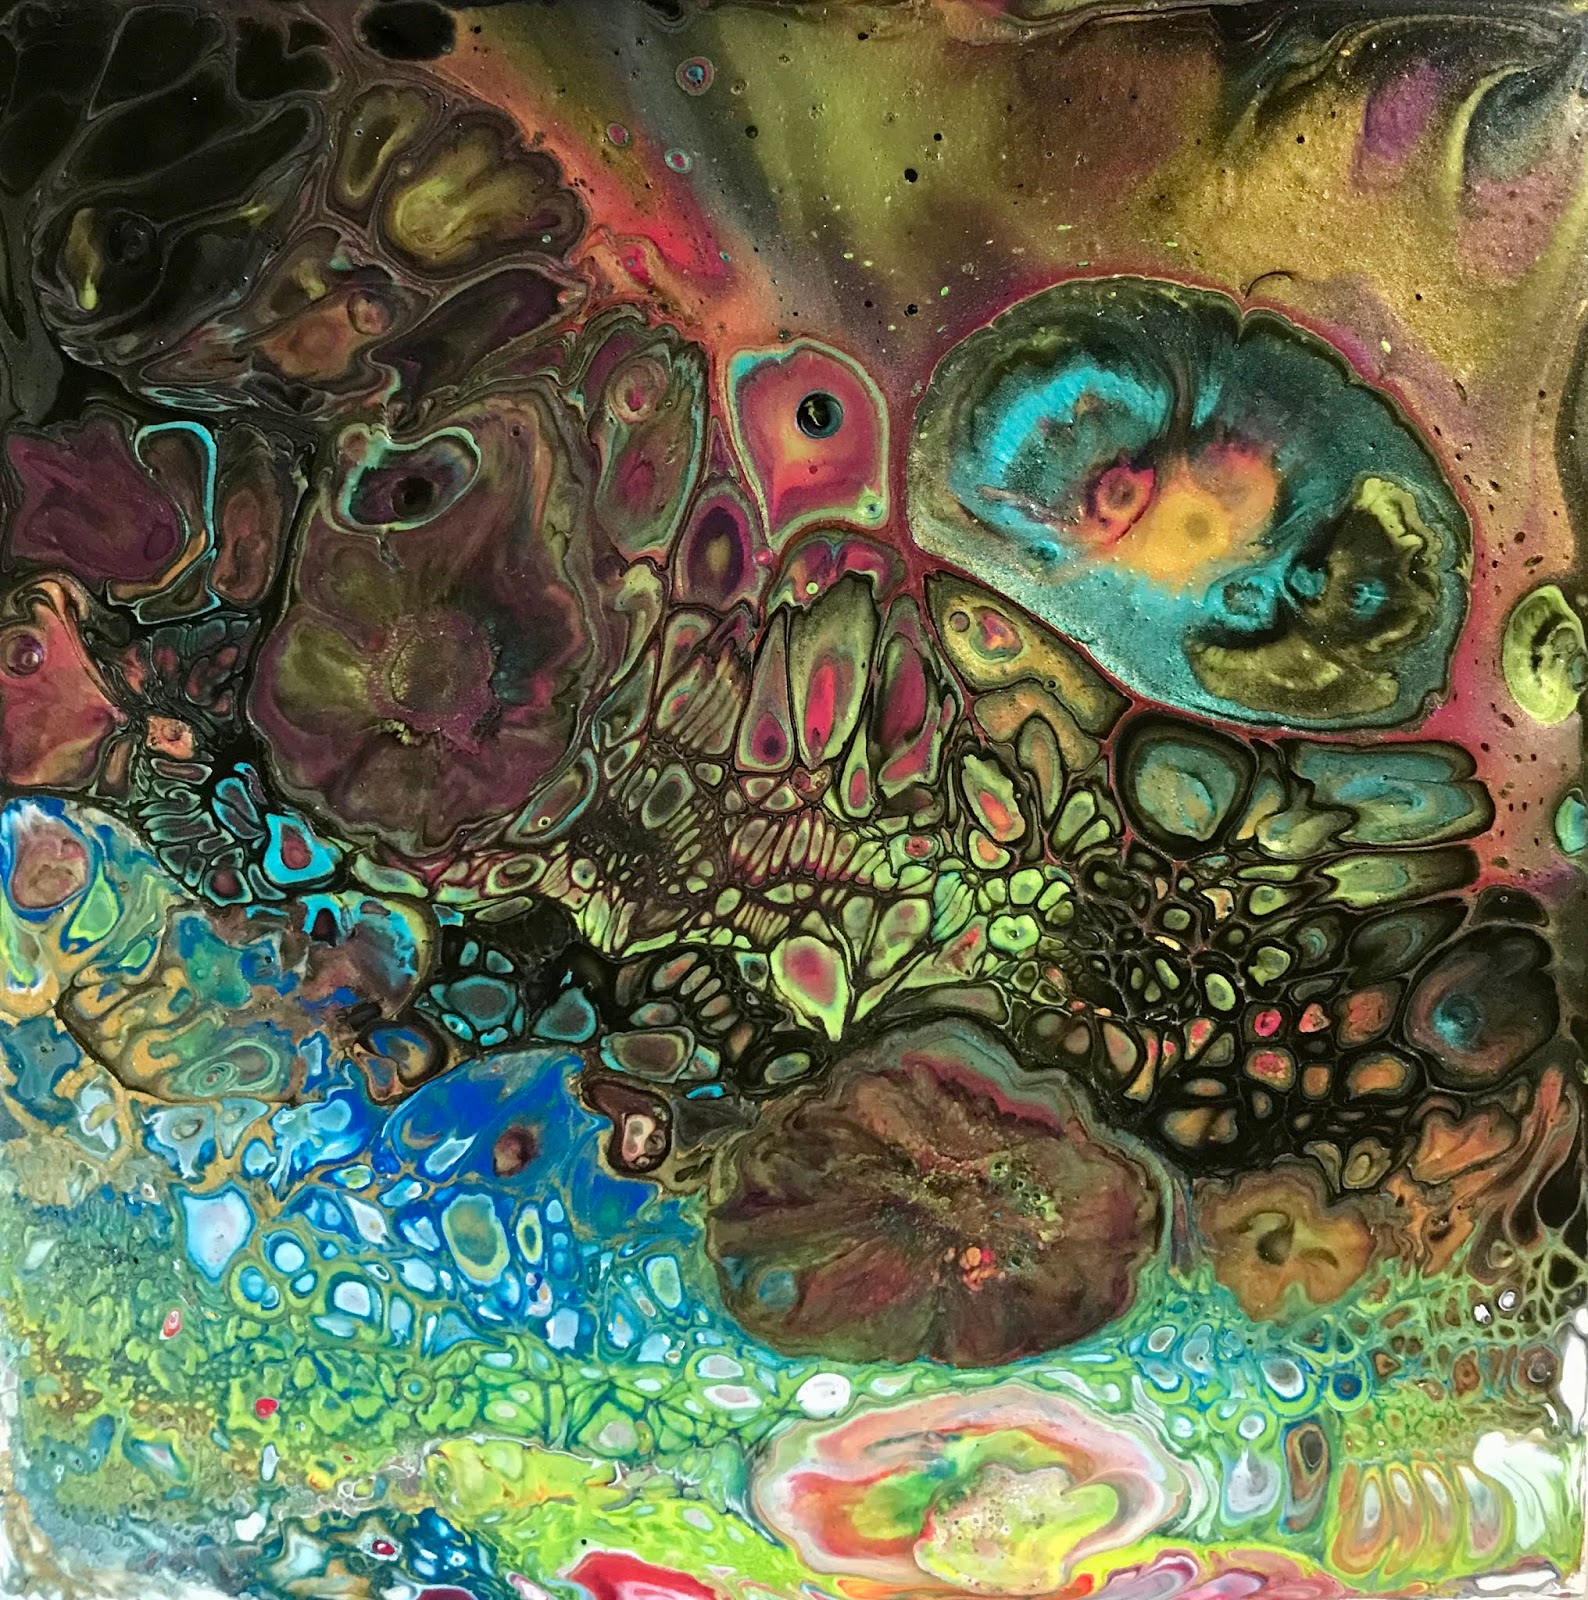


It is next to impossible to get a single symmetrical design element that is very large with acrylic pouring using most of the techniques that acrylic fluid painters use. 

You may have seen the videos of a variety of colors of paint poured through a kitchen strainer to obtain a flower or blooming pattern.  Except for a few designs such as those made by pouring one color of paint on another into a strainer or over a bottle, most acrylic pouring cellular patterns are anywhere from a few centimeters to an inch or two unless a tool such as a strainer is used to control the mix of the colors.  The ones that are larger tend to be one circle of one color paint poured into another circle of paint and on and on, but perfect circles are not the most often obtained patterns. One can get large areas that are flowing with acrylic pouring, but this is not anything like my paintings. I have been able to make a 24” in diameter circle with interesting symmetrical designs within much like a mandala. This is difficult with most acrylic pouring techniques. My large circular designs are caused more by a chemical reaction than the circles made with acrylic paint pours.  I do not use a strainer or any special tool to get my designs.

Yes, we are all masters by accident of acrylic pouring!  Even my two year old granddaughter’s first painting would have been considered a masterpiece.  ;)  However, there are those who have made their acrylic pours as backgrounds for their previously developed art style and their pours are now a signature part of their recognizable style. 

I do not want to make it sound like there is no control over acrylic pouring. To become good at it consistently, one has to do many pours. An acrylic fluid painter can work at developing paint formulas and color palettes that become recognizable as the artist’s work.  But it is very, very difficult to get to that point with acrylic pouring as there is so much left to chance.  I can name fewer than ten acrylic fluid painters out of the 25,000 acrylic pour artists in one forum I am on that I can put an artist’s name to their paintings the moment I see their paintings. So it is a real challenge to make a style one’s own with acrylic pours due to the lack of control with the process.  

I had made a post about eight years ago on artists who worked in similar processes as I work.  It is here if you wish to read it.  My next post may be on artists who work in a similar style as mine and have made it their own.


Thursday, May 31, 2018

Shades of Blue, Mermaids and First Friday

The Carolina Mixed Media Art Guild is having a member show at the Artists' Loft and Gallery in Wake Forest, NC.  

When:   First Friday, June 1st, 2018 between 6:00 and 9:00pm

Where:  156 S. White Street
              Wake Forest, NC 

Stop by and introduce yourself.  We love to talk art.

Our show is titled Shades of Blue and approximately 90% of the paintings should be blue.

I had planned on posting a sneak peek of the display, but was unable to get a good photo.

This is my submission to the exhibit.  


The Origin of Bubbles
16"x20"x2.5"

This painting is made with an acrylic pour and polymer clay mermaid, fish, seashells, starfish, and seahorse.  The bubbles are all alcohol inks in or on resin.  The resin is over an inch thick which gives it a very dimensional look.  

The photos below are closeups of the edges so you can see the layering of the paints and resin.  There are nine layers of paint and nine layers of resin. The resin is over an inch thick which gives it a very dimensional look.  


Detail of The Origin of Bubbles


Detail


A little about this painting...

Inspiration...

I was inspired to create this painting after watching one of our CMMAG members, Marcia Streithorst, make encaustic paintings of mermaids, and following one of the other artists of the Loft, Hannah Stayton, paint a different mermaid or "merfish" each day for the month of May.  She took a different fish each day and added a tail of that fish to make a unique mermaid or merman.  You can see all 31 of her paintings on Hannah's Facebook business page.  Pretty impressive to create a different one every single day for a month.

Process...

I have been doing some acrylic pours for a few years, but they are often not exceptional, but I have found that the ones that are not the best are the ones that work the best when adding other deliberate types of art to them. As you may know, a lot of fluid paintings turn out by chance to be works of art and many others are not quite up to what one expects or desires. This painting was all blues and had very little going for it, but that is what makes it work for the background for a mermaid.  

The mermaid was created out of polymer clay in 2006 for a CMMAG sign for a show we were doing as a guild.  Each member chose a letter of the Carolina Mixed Media Art Guild, and we each chose the medium we wanted to use for our letter. I chose the letter M and made a mermaid using the letter.  After the show was over, this mermaid sat in a drawer for twelve years.  Our guild encourages recycling, up cycling, reuse, and repurposing.  What better use for the mermaid than to add her to the acrylic pour that did not have enough going for it to be a stand alone painting.

I sculpted a fish, starfish, seahorse and a few seashells to go with her.

The bubbles are all alcohol inks.  Some have metallic or pearl pigment in them.  

The painting is on Ampersand Claybord™.

Come out tomorrow night and enjoy the evening of music, art, and friendship.


Thursday, July 27, 2017

Experimenting with Marabu Paints

I love experimenting with new products. 

Recently Elena, my studio buddy, and I spent an afternoon playing with Marabu Porcelain and Glass Paints™ and resin. 

Our mission was to determine if these paints would work with resin using a similar process that I use when working with alcohol inks and resin, and to determine if these paints would work with the fluid or accidental painting process.

With EnviroTex Lite and EX-74, we got some interesting patterns. Here are two photos of some samples. The resins were freshly poured and the paints dropped in within 15 minutes.   A few that had two colors were manipulated with a needle tool by drawing lines across the center sections. If waiting too long, the effect was not as pronounced. If dropped too soon, the paints dispersed more as in the bottom three images. The samples are on 2" square Ampersand Stampbord™ or Claybord.™


If you know my work, you know that I love trying to get interesting patterns using the chemical and physical properties of the inks and paints that I use. Although these patterns are very different (more pointy lines and not so many circles) than my regular patterns, I can see there are possibilities in jewelry and other small works.  I doubt if I will be able to get large design elements since they dry fast when dropped into resin and that does not allow them to spread far.

We also used the Marabu Porcelain and Glass paints for pouring as fluid painters do.  The paints mixed more than most acrylics that we have used resulting in a more muted palette, but we still got some designs that were suitable for coasters. Note:  Photos were taken under a bright light so the colors would show well in a photo.  They are a little more muted in natural light, but I don't know how to do that with photo editing.


I had a play day and demo day for the Carolina Mixed Media Art Guild members this past week-end in my studio.  We had a blast pouring acrylic paints.  With fluid or accidental painting, there is often a lot of waste left from a pour. I captured some from one painting and used the acrylic skins to make a few coasters that are shown in the first photo below.  No waste in my studio! All of these are on Ampersand Claybord™.  I wish I had photos to share with you of all the member's work, but I am the worst at taking photos when friends are in my studio!


And finally, we made a lot of small magnets demo left-overs from the pours.  Some of these were made by turning the tile upside down onto dripped paint.  Fun to see what can be obtained with drips of paint!


Hope you enjoy!


Sunday, February 12, 2017

Resin Studio Demo

My third newsletter is online here.  If you would like to receive it in your inbox each month, please subscribe at the bottom of it.

This past month has been busier than usual, but not busy as in hurry, hurry, hurry---just more commitments.  I am as always trying to stay focused on the task at hand while still taking a little time to dream, wander, and take it easy when possible.

I gave a demo last Sunday afternoon for some of our Carolina Mixed Media Art Guild members and a couple of our Sanford Brush and Palette Club members on how to use a two part resin and a few other short demos on using Jacquard silk fabric dyes and salts to create backgrounds.  A few participants painted with alcohol inks and applied resin to their paintings.

I used ArtResin for the demo. With about twelve people in my studio sampling resin, I wanted to be sure the odor was not overwhelming to those who are sensitive to resin. I heard no complaint about the odor of this resin unlike other resins I have used.  ArtResin is a superb resin in many ways.  If you wish to know more about it in comparison to others, you can read about it here.  

Each person applied resin on at least two paintings.  I had planned to take photos of participants and their art, but forgot.  These were some of the ones that were left in my studio to cure.  (Permission was granted to post these images.)

Elena Gage brought several of her Pēbēo paintings to test the effect that resin had on them.  They had been painted over a week earlier. This is important if applying resin over Pēbēo.  These are some of her first paintings and they are wonderful, but even better in person!


These are a couple of photos of Cathy Hooper's alcohol ink paintings that she did at the studio and applied an ArtResin™ finish. These are on Ampersand Claybord™.


I enjoyed doing this demo so much that I have plans to do this type of activity once a month in my studio.  It will be a potluck demo--anything that I have a 'taste' for at the time and the supplies that I have on hand so participants can experiment using their own style and art.

If you are interested in attending, the demos will most likely be on a Sunday afternoon in my studio in Sanford.  Please email me and I will put you on a notification list. Demos will be limited to 15 participants.  There will be a jar for donations---no more than $5 per person. This money will be donated to the Sanford Brush & Palette or the Carolina Mixed Media Art Guild.  

Sorry, I cannot tell you what I will demo until I stumble across it! 


Saturday, October 22, 2016

My New Obsession---Pēbēo Paints

About two years ago, I decided to try to paint with oil paints. The alcohol inks that create the patterns that I love to make are becoming more difficult to find. I needed to branch out. 

I have always liked a challenge, but I also like to work with art materials that by their very nature create interesting effects. This is not usually a desired characteristic if working in realism as one may be fighting what the paints want to do and what they were made to do. However, I work mainly in abstraction so these types of paints enhance or provide more possibilities.

After painting with several brands of oil paints, I ran across Pēbēo paints and was hooked. The paints, Vitrail, Prisme, and Moon, out of the bottles create three unique patterns without mixing with other paints, thinners, or solvents. 

The Prisme™ paints create a honeycomb effect. The Moon paints create a marbled or hammered effect. The Vitrail mimics glass. When these are combined, there are many variations of effects or patterns possible.


I have not taken any classes working with Pēbēo paints, but I love experimenting to discover my own style and techniques and possible patterns.

Right away, the primary disadvantage that I discovered was that the paints tend to dry out when 1/3 to 1/4 of the bottle is left and it turns to a thick gunk. The Prisme line appears to be the one that has this problem most often although the Moon line occasionally gets too thick as well. When so thick, the paints lose their ability to make the effects that they were created to make, and worst of all if too hardened, one must throw them out. 

Two weeks ago, I decided that I must find a solvent that would save this last 1/3 to 1/4 bottle of paints. After testing seven different solvents and some thinners, I found one that works!  I have tested this over and over with the Prisme paints, and it has worked every time for me.

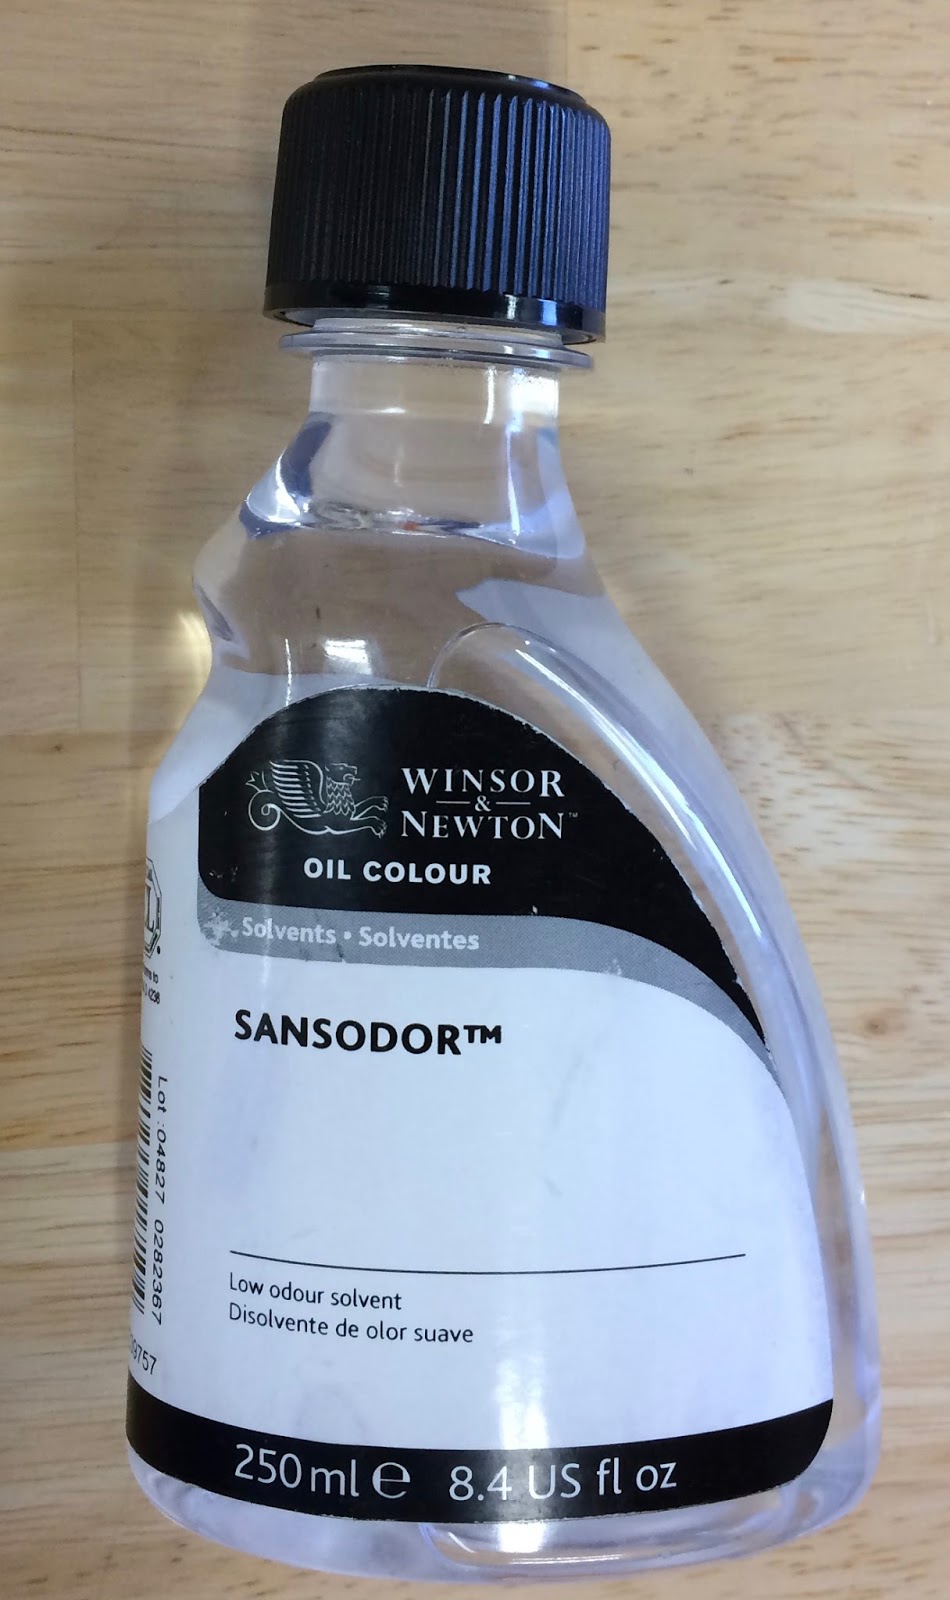
This magical thinner is Winsor Newton Sansodor™. Although this is technically mineral spirits (according to my research), I tested three other mineral spirits and could not get them to mix into the paint well and so the effects would not develop once they were added. One of the mineral spirits would not mix in at all and one could pour it off with none of the color of the paint mixing in.


I use a dedicated eye dropper and drop in only the amount that I think makes the paint about the same consistency as a new bottle and mix it well. I suggest dropping a few drops in when bottle is down to 1/4 remaining if not painting soon so it will not harden in the bottle before you get to paint again. 

The viscosity and the applied thickness of the paint determines the size of the honeycomb pattern of the Prisme. I found that I could make a pattern much larger than what is ordinarily created by varying the amount of the Sansodor™.  The Prisme remained workable even after several days.

In the photo below the pattern made on the left had Sansador™ added to very thick Prisme that would not flow at all. It was not solid or dried out, but so gunky, it would not come off of a wooden stick. The one on the right was from a new jar of Prisme.


This is also Prisme that had Sansodor™ added as it had thickened to the point of no longer making a pattern. The resulting pattern was not the mini honeycomb pattern, but a much more interesting design.


Now all is not lost if your ink has become so thick that it barely will come off a wooden stick. 
The pattern below with the texture is a result of thick Prisme and Moon that had not thoroughly dried when I applied resin.  I will never waste Pēbēo™ paint again!


The most important tip that I can give when working with the Pēbēo™line is to never use a tool---brush, stirring stick, eye dropper, pipette---when changing from Prisme to Moon or to Vitrail.  Keep them separate.  Otherwise, the patterns these paints were made to create will no longer be possible.  

I will be demo'ing the Pēbēo products for the Carolina Mixed Media Art Guild at Art of the Carolinas on November 12 at 2:00.  Please stop by to see me and try out some of the products.  

Jerry's Artarama carries the full line of Pēbēo products in their Raleigh store.  They have the large and small bottles of the Prisme, Moon, and Vitrail and many accessories. 

Note added in response to comment below.

These paints are not inexpensive, but it is possible to use them with other mediums.  I did this with this jellyfish painting.  The body/head of the large jellyfish is Pēbēo Prisme and Moon paints.  The border is my own mixture that I developed years ago, but Pēbēo makes a tube of a product that will work to contain the paints.